
What are the main methods for external tiling installations?
The last few years have seen a massive increase in the popularity of external tiling installations using a range of materials, but primarily external self-supported porcelain (typically 20mm porcelain), slabs, pavers and natural stone.
Here we outline the two most common installation methods for installing porcelain slabs using BAL’s external tiling range.
Fixing onto pre-prepared Type 1 MOT sub-base or concrete (wet-on-wet method)
This traditional wet-on-wet fixing method is favoured most by landscapers and paving installers and involves the use of a semi-dry bedding mortar mix and a priming slurry bonding coat on the back of the tiles.
- Ensure that the sub-base is of a suitable Type 1 MOT grade, laid to the correct depth and fully compacted with a whacker plate. The sub-base should be stable and not liable to settlement.
- Ensure all external pavers and tiles are free of standing or pooling water. Introduce adequate falls to drain water towards a suitable disposal point such as a gully, linear drain or the edge of a terrace or patio. Surface water should be directed away from buildings wherever possible.
- Where the patio is adjacent to the house, ensure the height is significantly below any damp proof course and pay close attention to drainage.
- Prime the prepared Type 1 MOT or concrete sub-base with 2–3mm of a slurry bonding coat such as BAL Priming Slurry Bond. Mix each bag with 6.4 litres of clean, cold water and apply using a brush or roller.
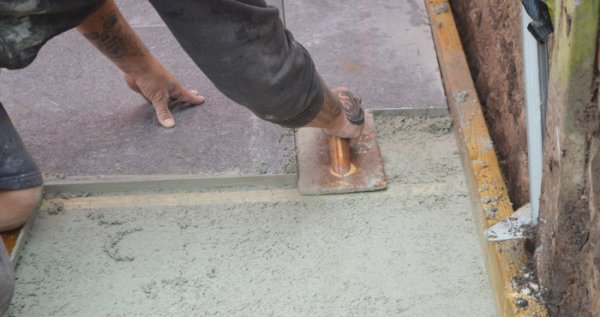
- Apply a bedding mortar wet-on-wet and compact to the required height. BAL Bedding Mortar can be used, mixed with 2 litres of water per 25kg bag to achieve a semi-dry consistency. Use a forced action mixer only (free-fall mixers are not suitable).
- The working time of the mortar is over 1 hour at 20°C. Limit the mix quantity to ensure trowelling, finishing and tile fixing are completed within this time.
- Where a new bay meets a hardened mortar bed, ensure joints are vertical and treat with BAL Priming Slurry Bond before applying fresh bedding mortar.
- On concrete substrates, apply BAL Bedding Mortar from a minimum of 10mm to a maximum of 100mm thickness.
- On Type 1 MOT sub-bases, apply BAL Bedding Mortar from a minimum of 25mm to a maximum of 100mm thickness.
- While the bedding mortar is still wet, apply a further 2–3mm coat of BAL Priming Slurry Bond on top, and a thin coat to the back of the tile or paver to achieve 100% coverage.
- Position the tile, paver or slab and tap into place using a rubber mallet.
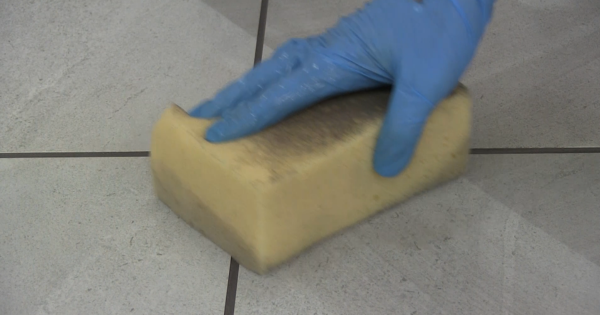
- After 12 hours, grout using BAL Terrace Grout or BAL Micromax 3 ECO. BAL Terrace Grout is suitable for joints up to 15mm and is hard-wearing, water and frost resistant. Carry out initial and final wash-offs as recommended. The surface can be subjected to normal conditions after 24 hours.
How do I fix porcelain tiles, pavers, slabs or natural stone onto new or damaged concrete?
This method uses BAL Level Out external leveller and is best suited for fixing porcelain, pavers, slabs or natural stone directly onto an existing concrete base that may be rough or damaged.
This direct fixing method is similar to internal tiling and is suitable for patios, terraces or driveways. Expansion joints must be incorporated, falls added for drainage, and an effective DPM included for direct-to-earth subfloors.
- Ensure the concrete base is fully cured and free from efflorescence, laitance, dirt, polished surfaces and loose materials. Remove contaminants mechanically until some exposed aggregate is visible.
- Dampen the substrate with water, ensuring no standing water remains.
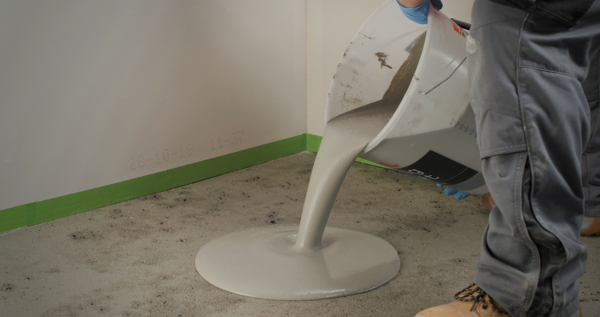
- Mix each bag of BAL Level Out with approximately 5.25 litres of water. Mix thoroughly to a lump-free consistency using a slow-speed electric paddle (600–1000 rpm).
- For gradient levelling, slightly reduce the water content.
- Apply BAL Level Out within 30 minutes of mixing, at thicknesses from 2mm to 20mm.
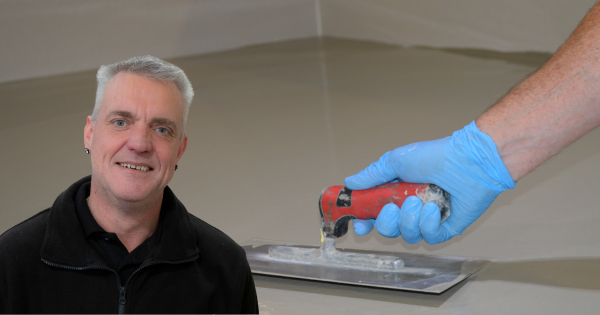
- The mortar will self-smooth within the first 10 minutes. Spread with a steel trowel or float and spike roll if required to remove air pockets.
- BAL Level Out can be tiled after approximately 3 hours. Protect from adverse conditions such as rapid drying, sunlight, rain or frost during curing.
- Once cured, fix tiles using a suitable adhesive such as BAL XL Floor One.
- Mix BAL XL Floor One with 4.2 litres of water per 20kg. This pourable adhesive can be built up to 25mm and provides excellent coverage without back buttering on flat surfaces (though still required on heavily keyed tiles).
- Apply using a large format trowel. The adhesive has a 1-hour pot life and sets in 6–8 hours.
- Once the adhesive has dried, grout using BAL Terrace Grout or BAL Micromax 3 ECO.
Need Technical Support?
BAL provides a range of services to support installers, including a nationwide team of Training and Technical Support Managers and trusted technical advisors available by phone or online.
For full installation advice and on-site specifications, please call 03330 030160.